Posted on

Sweet Potato Planting and Care

Sweet potatoes are delicious, nutritious root vegetables that grow well in the food forests of central Florida. These warmth-loving plants thrive in the region’s long, warm summers and mild winters, making them ideal for food forests and home gardens. I consider sweet potatoes to be our king of calorie crops. The first 2 food forest plants I recommend anybody plant is moringa and sweet potatoes. Sweet potatoes to satisfy our calorie needs, which is the first survival food priority. And moringa to satisfy our nutrient needs. If that’s all any of us had access to in a very lean time, we could hang on for some time.

There’s up to 250 calories in a cup of mashed sweet potatoes. Sweet potatoes are an excellent source of several important nutrients too. They are particularly rich in complex carbohydrates, which provide a slow and steady source of energy. They also contain a good amount of dietary fiber, which can help to promote healthy digestion and prevent constipation.

Sweet potatoes are also a great source of vitamin A, an essential nutrient that is important for maintaining good vision, healthy skin, and a strong immune system. One medium sweet potato contains over 400% of the daily recommended value of vitamin A.

Sweet potatoes are also rich in vitamin C, which is an antioxidant that helps to protect cells from damage and promotes the formation of collagen, a protein that helps to keep skin and other tissues healthy. They are also a good source of vitamin E and vitamin K.

In addition to vitamins, sweet potatoes are also a good source of minerals. They are high in potassium, which helps to regulate blood pressure, and manganese, which plays a role in bone development and wound healing. They are also a good source of iron, which is essential for the production of red blood cells and the transportation of oxygen around the body.

Sweet potatoes are also rich in phytochemicals, which are compounds found in plants that have been shown to have health-promoting properties. Some of the most notable phytochemicals found in sweet potatoes include anthocyanins, which are responsible for the bright orange and purple color of sweet potatoes, and carotenoids, which are antioxidants that have been linked to a reduced risk of certain types of cancer.

Finally, sweet potatoes are gluten-free, have a low glycemic index making them a great choice for diabetic individuals, or for anyone looking to control blood sugar levels.

My favorites are purple varieties.  There are several purple varieties of sweet potatoes that are known for their vibrant color and delicious flavor. Some of the most popular purple varieties include:

‘Stokes Purple’: This is one of the most popular purple sweet potato varieties. It has a dark purple skin and a vibrant purple flesh. It has a slightly sweet and nutty flavor and is known for its high yield and disease resistance.

‘Purple Dragon’: This sweet potato variety is known for its unique, elongated shape and vibrant purple skin and flesh. Its flesh is moist and sweet, with a nutty flavor.

‘Blackie’: This variety has dark purple skin and deep purple flesh. It has a sweeter taste than other purple varieties and a good yield.

‘Violetta’: This is a new breeding that features deep purple skin and a bright purple flesh. Its flesh is moist and sweet and it stores well.

‘Purple Majesty’: This is another newer variety with a deep purple skin and a purple flesh, known for its texture and flavor.

Be aware that purple sweet potatoes may have a lower storage life than orange or white varieties.

Also it’s important to note that most purple sweet potatoes will turn brown when cooked, but the purple color will remain in the flesh, and its beneficial compounds will remain intact.

When choosing sweet potato varieties grown in food forest systems, you should choose a mix of different varieties. Popular cultivars in Central Florida include ‘Beauregard’, ‘Jewel’ and ‘Covington’. ‘Beauregard’ is known for its large, sweet, moist tubers, ‘Jewel’ is known for its dry, sweet flesh, and ‘Covington’ is known for its high yield and disease resistance. Sweet potatoes are usually planted in early summer after the last frost and the soil has warmed up. They should be planted in well-drained, sandy soils rich in organic matter. A 4- to 6-inch bed of organic mulch, such as straw or grass clippings, will help retain soil moisture and keep sweet potato roots cool.

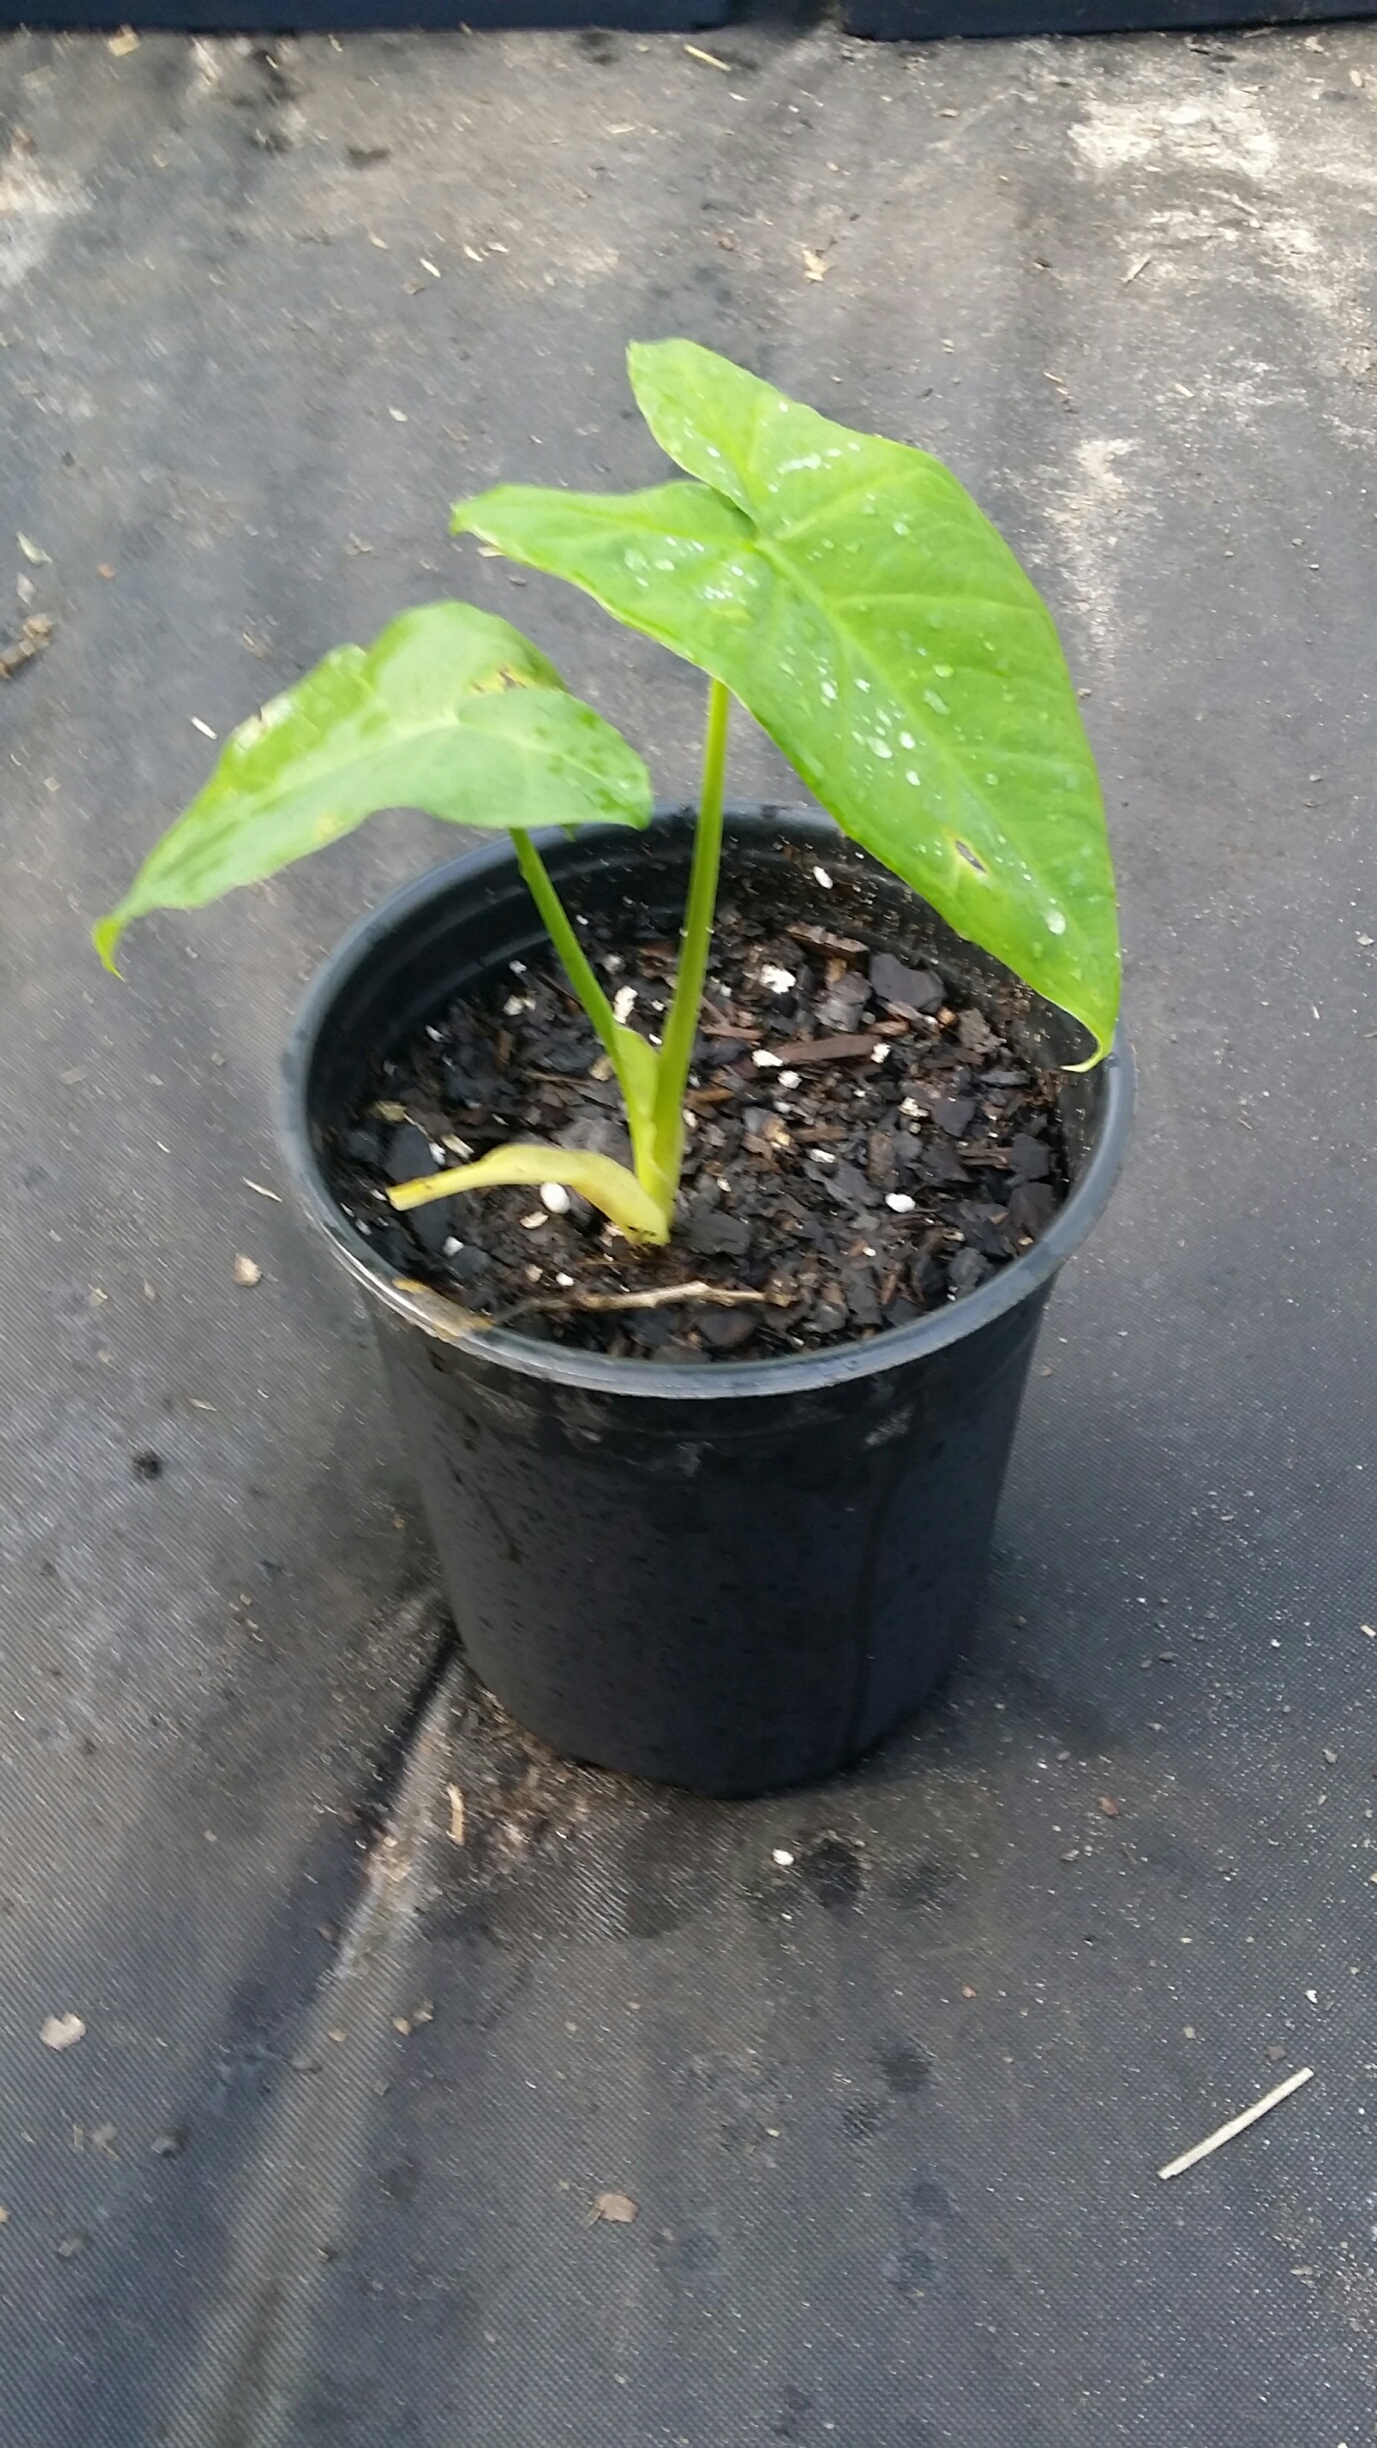
A plant cutting that is not a seed potato but a rooted cutting of a mature sweet potato vine is called a slip. Cuttings are available from seed companies, or nurseries, but not necessarily year round from businesses up north. Those of us in Florida, may have them year round or overwinter some slips until the danger of frost is gone. You can also make your own by taking cuttings from mature sweet potatoes to propagate into more plants. Plant cuttings 1 to 2 inches deep, with 2-3 nodes below the surface, and 12 inches between each cutting.

Sweet potatoes require a lot of water, especially when first planted and during the hot, dry summer months. Water your sweet potatoes deeply and regularly, ideally with a drip irrigation system to keep the soil moist. Heavy mulch will help retain the moisture.

Feed sweet potatoes regularly with a balanced organic fertilizer such as 10-10-10 and maintain a pH range of 5.5-6.5 for optimal growth. Organic bone meal is also a good soil amendment before planting.

Sweet potatoes can usually be harvested about 90-120 days after planting, but it may take longer depending on the variety and other variables. Wait for the leaves to turn yellow, then carefully dig the tubers by hand or with a garden fork.

Be careful not to damage the tubers when harvesting. Their skins are thin and subject to scarring easily before they are cured. You can cure them for up to 2 weeks in a warm, humid environment to fully develop their sugars. They can be eaten fresh, but will be much starchier. They should be stored in a cool, dry place until ready to eat or use.

Sweet potatoes make a great addition to the food forests of central Florida. It offers great flavor and texture and is extremely versatile in the kitchen. As a bonus, you get 2 crops in one as the leaves and young shoot of vines are also edible like any other leafy green. They can be eaten raw or cooked.

Posted on

Longevity and Okinawan Spinach Planting and Care

Longevity spinach (Guynura procumbens) and Okinawan Spinach (Gynura crepioides) are tropical leafy greens that is native to Southeast Asia and is well-suited for growing in a food forest or as a survival crop in Florida. The plant has dark green leaves that are rich in vitamins and minerals and have a slightly sweet, nutty flavor. Okinawan spinach is differentiated by its beautiful purple underside of the leaves.  It can be eaten raw or cooked in a variety of dishes and is a nutritious and tasty addition to any diet.

Here are some tips for planting and caring for longevity spinach in a food forest in Florida:

Choose a sunny location: Longevity spinach prefers full sun to partial shade and will grow best in a location that gets at least 6-8 hours of direct sunlight per day.

Prepare the soil: Longevity spinach grows best in soil that is well-draining and rich in organic matter. Before planting, add compost or well-rotted manure to the soil to improve its fertility and structure. Longevity spinach also prefers a slightly acidic soil with a pH between 6.0 and 6.5.

Plant the seeds or seedlings: Longevity spinach can be grown from seeds or from seedlings. To start the seeds, fill a seed tray or pots with seed starting mix and plant the seeds about 1 inch deep. Water the seeds well and place the tray or pots in a warm, sunny location. When the seedlings are about 3 inches tall, transplant them into the ground. Alternatively, you can plant the seeds directly in the ground after the last frost has passed. Plant the seeds about 1 inch deep, spacing them about 12 inches apart.

Water and fertilize regularly: Longevity spinach requires regular watering, especially during dry spells. Water the plants deeply to keep the soil moist, but be careful not to overwater, as this can lead to root rot. Fertilize the plants with an all-purpose fertilizer or compost every few months to provide additional nutrients.

Harvest and cook the spinach: Longevity spinach is ready to harvest when the leaves are about 4-6 inches long, but you can harvest any time really. To harvest the spinach, cut the leaves from the plant using a sharp knife or scissors, leaving about 1 inch of stem attached. The spinach can be eaten raw in salads or sandwiches, or it can be cooked in soups, stir-fries, and other dishes. When eaten raw, it has a slight crunch which I prefer. It also has a slight carrot-like flavor on the back end. This one is my favorite leafy green to grow.

You can successfully grow longevity spinach in your food forest or as a survival crop in Florida. Every node on the stem has the ability to become a new plant. It readily roots and is very easy to propagate. The plant is a reliable and nutritious source of food that can be enjoyed in a variety of ways and is a valuable addition to any edible landscape.

Posted on

Seminole Pumpkin Planting and Care

Seminole pumpkin (Cucurbita moschata).  What better name for a true Florida native food forest plant, right?  It is a type of squash that is native to the southeastern United States and is well-suited for growing in a food forest or as a survival crop in Florida. In fact, the name of the town, Chassahowitzka, just south of where I am now, is said to mean “land of the hanging pumpkins.”  The natives are said to have planted and cultivated the pumpkins in this area and let the vines run up the trees and the fruits would hang down.  The pumpkin has a hard, thick skin and a sweet, orange flesh that is high in vitamins and minerals. It can be cooked in a variety of ways and is a versatile and nutritious addition to any diet.  The appearance can vary from a small, round, pale orange pumpkin to a more flattened green skin look.  It is truly suited to our climate here as other more traditional pumpkins don’t like the heat, humidity, and large amounts of monsoon type rains we get here in the summer.  It can also cross with other pumpkin varieties like calabaza. 

Here are some tips for planting and caring for Seminole pumpkin in a food forest in Florida:

Choose a sunny location: Seminole pumpkin requires full sun to grow well, so choose a location in your food forest that gets at least 6-8 hours of direct sunlight per day.

Prepare the soil: Seminole pumpkin prefers well-draining soil that is rich in organic matter. Before planting, add compost or well-rotted manure to the soil to improve its fertility and structure. Seminole pumpkin also prefers a slightly acidic soil with a pH between 6.0 and 6.5.

Plant the seeds: Seminole pumpkin seeds can be started indoors or directly in the ground. To start the seeds indoors, fill a seed tray or pots with seed starting mix and plant the seeds about 1 inch deep. Water the seeds well and place the tray or pots in a warm, sunny location. When the seedlings are about 3 inches tall, transplant them into the ground.  Just be as gentle as possible as they don’t like transplantation too much. Alternatively, you can plant the seeds directly in the ground after the last frost has passed. Plant the seeds about 1 inch deep, spacing them about 3-4 feet apart.  You can also let them run up a trellis or other living natural structure.

Water and fertilize regularly: Seminole pumpkin requires regular watering, especially during dry spells. Water the plants deeply to keep the soil moist, but be careful not to overwater, as this can lead to root rot. Fertilize the plants with an all-purpose fertilizer or compost every few months to provide additional nutrients.

Harvest and cook the pumpkin: Seminole pumpkin is ready to harvest when the skin is hard and the stem is dry. Cut the pumpkin from the vine using a sharp knife, leaving a few inches of stem attached. To cook the pumpkin, cut it into small, evenly-sized pieces and remove the seeds. The pumpkin can be boiled, roasted, or baked, and it can be used in soups, stews, pies, and other dishes.  They can be stored for quite a long time, up to a year or more due to their hard outer skin making them an ideal survival crop.  As a bonus, the terminal ends of the vine (cooked) and the flowers are edible.  You can eat the male flowers as the females subsequently produce the pumpkin.

You can successfully grow Seminole pumpkin in your food forest or as a survival crop in Florida. The pumpkin is a reliable and nutritious source of food that can be enjoyed in a variety of ways and is a valuable addition to any edible landscape.  It’s really one of my favorites and just so appropriate to a natural Florida food forest.

Posted on

Malanga and Taro Planting and Care

Malanga root, also known as elephant ear, is a subtropical/tropical plant, but can be grown in a variety of climates, including Florida. It is a staple food in many parts of the world and is valued for its high carbohydrate and protein content, as well as its versatility in cooking. Malanga root can be cooked in a variety of ways, including boiling, roasting, or frying, and it can be used in soups, stews, and other dishes just like a potato.

Malanga root plants are known for their large, heart-shaped leaves and their ability to tolerate a wide range of growing conditions. They are well-suited for use as a survival crop or in a food forest, as they are relatively easy to grow and can provide a reliable source of food in times of need. They can stay in the ground like a food savings account until you need it.

Here are some tips for planting and care:

Malanga root can be grown from seeds or from root cuttings. To start seeds, soak them in water for 24 hours, then plant them about an inch deep in well-draining soil. Keep the soil moist until the seeds germinate, which usually takes about a week. Root cuttings can be started by dividing the root into small pieces and planting them about an inch deep in the soil.

Malanga root prefers full sun to partial shade and well-draining soil. It is tolerant of a wide range of soil types, but it will grow best in soil that is rich in organic matter and has a pH between 6.0 and 6.5.

Water your malanga root regularly, especially during dry spells. The plant is drought-resistant, but it will grow more vigorously with regular watering.

Fertilize your malanga root with an all-purpose fertilizer every few months. You can also add compost or well-composted manure to the soil to provide additional nutrients.

Malanga can grow quite quickly and may need to be pruned regularly to keep it from getting too large. Prune the plant in the spring, cutting off any dead or damaged leaves and shaping it to your desired size.

Malanga root is generally pest-resistant, but it can be susceptible to slugs and snails. If you notice any pest problems, you can use slug bait or other pest control methods to get rid of the pests.

By following these tips, you can successfully grow malanga root in Florida as a survival crop or in a food forest. The plant will provide a reliable and nutritious source of food, and it can also contribute to the overall health and diversity of your ecosystem.

Taro

Taro root is a tropical plant that is native to Southeast Asia but can be grown in a variety of climates, including Florida. It is a staple food in many parts of the world and is valued for its high carbohydrate and protein content, as well as its versatility in cooking. Taro root can be cooked in a variety of ways, including boiling, roasting, or frying, and it can be used in soups, stews, and other dishes.

Taro root plants (Colocasia esculenta), may also be known by many other common names like malanga, eddoe, dasheen, or Hawaiians call it kalo and process it into poi.  Taro is  known for its large, heart-shaped leaves and their ability to tolerate a wide range of growing conditions. They are well-suited for use as a survival crop or in a food forest, as they are relatively easy to grow and can provide a reliable source of food in times of need.

Here are some tips for planting and care:

Taro root can be grown from seeds or from root cuttings. To start seeds, soak them in water for 24 hours, then plant them about an inch deep in well-draining soil. Keep the soil moist until the seeds germinate, which usually takes about a week. Root cuttings can be started by dividing the root into small pieces and planting them about an inch deep in the soil.

Taro root prefers full sun to partial shade and well-draining soil. It is tolerant of a wide range of soil types, but it will grow best in soil that is rich in organic matter and has a pH between 6.0 and 6.5.

Water your taro root regularly, especially during dry spells. The plant is drought-resistant, but it will grow better with regular watering.

Fertilize your taro root with an all-purpose fertilizer every few months. You can also add compost or well-rotted manure to the soil to provide additional nutrients.

Taro root can grow quite quickly and may need to be pruned regularly too to keep it from getting too large. Taro root is generally pest-resistant, but it can be susceptible to slugs and snails. If you notice any pest problems, you can use slug bait or other pest control methods to get rid of the pests.

Taro must be cooked or prepared in another manner due to the oxalate crystals found in the plant.  Taro is a starchy root vegetable that is commonly used in a variety of dishes around the world. It has a slightly sweet and nutty flavor and a creamy, potato-like texture when cooked. Here are some ways to cook and eat taro root:

Boiling: One of the most common ways to cook taro root is to boil it. Peel the taro root and cut it into small, evenly-sized pieces. Bring a pot of water to a boil, add the taro root, and cook until it is tender, about 15-20 minutes. Drain the taro root and serve it as a side dish, or use it in soups, stews, or other dishes.

Roasting: Taro root can also be roasted in the oven for a slightly sweet and nutty flavor. Peel the taro root and cut it into small, evenly-sized pieces. Toss the taro root with a little oil and season with salt and any other desired seasonings. Spread the taro root out on a baking sheet and roast it in the oven at 400°F for 20-25 minutes, or until it is tender and golden brown.

Frying: Taro root can be sliced or cubed and fried in oil for a crispy and flavorful snack or side dish. Peel the taro root and cut it into small, evenly-sized pieces. Heat some oil in a frying pan over medium-high heat and add the taro root. Cook the taro root until it is tender and golden brown, about 5-7 minutes. Drain the taro root on paper towels and season with salt or any other desired seasonings.

Mashing: Taro root can be mashed and used as a replacement for mashed potatoes or other mashed vegetables. Peel the taro root and cut it into small, evenly-sized pieces. Boil the taro root until it is tender, then drain it and mash it with a potato masher or a fork. Season the mashed taro root with salt and any other desired seasonings and serve it as a side dish.

These are just a few examples of how to cook and eat taro root. There are many other ways to use it in cooking, and it can be a delicious and nutritious addition to a wide variety of dishes.

This food forest plant will provide a reliable and nutritious source of starch and calories.

Posted on

Blackberries Planting and Care in a Food Forest

Blackberries are a popular fruit that can be grown in a variety of climates, including Florida. Here are some tips for growing blackberries in Florida:

Choose a sunny location: Blackberries prefer full sun, so choose a location that gets at least 6-8 hours of direct sunlight per day.

Prepare the soil: Blackberries grow best in soil that is well-draining and rich in organic matter. Prior to planting, add compost or well-rotted manure to the soil to improve its fertility and structure. Blackberries also prefer a slightly acidic soil with a pH between 6.0 and 6.5.

Select the right variety: There are many different varieties of blackberries that are well-suited for growing in Florida. Some good options include “Navaho,” “Chester,” and “Ouachita.” These varieties, developed by the University of Arkansas and designated by native American tribe names, are all resistant to common diseases and pests, and they are well-adapted to north Florida’s climate.  “Floragrand” is adapted to the central Florida climate.  There are also several Florida native varieties that grow wild like sawtooth and sand blackberry.

Plant your blackberries: Blackberries can be grown from bare root plants or from potted plants. When planting bare root plants, soak the roots in water for a few hours before planting to help hydrate them. Plant the blackberries about 3-4 feet apart, with the roots spread out and the crown of the plant at soil level.

Water and fertilize your blackberries: Blackberries require regular watering, especially during dry spells. Water the plants deeply to keep the soil moist, but be careful not to overwater, as this can lead to root rot. Fertilize your blackberries with an all-purpose fertilizer every few months, or add compost or well-rotted manure to the soil to provide additional nutrients.

Harvesting: Blackberries are ready to be harvested when they are fully black and slightly soft to the touch. Be sure to wear gloves when picking blackberries, as the thorns can be sharp. The berries are delicate and should be handled with care to avoid bruising.

Propagation: Blackberries can be propagated by taking stem cuttings or by layering. To propagate by stem cuttings, take a 4-6 inch cutting from a healthy plant, dip it in rooting hormone, and plant it in a pot filled with soilless potting mix. Water the cutting well and keep it in a warm, humid location until it roots. To propagate by layering, select a healthy cane and bend it down to the ground. Cover the section of the cane that touches the ground with soil, leaving the tip of the cane exposed. Keep the soil moist until the cane roots, and then cut it away from the parent plant.

Pests and Diseases: Blackberries are susceptible to a few pests and diseases, including cane borers, spider mites, and powdery mildew. To prevent cane borers, prune the canes in the spring and remove any canes that have holes or other signs of infestation. Spider mites can be treated with a spray of insecticidal soap. Powdery mildew can be prevented by planting blackberries in a sunny location with good air circulation, and by watering them at the base of the plant rather than from above.

Your blackberry plants will produce delicious, sweet fruit that can be enjoyed fresh or used in a variety of recipes.